How to Stop Leaking Shower: A Comprehensive Guide
Introduction
Overview
Showers that leak can be a huge source of frustration for homeowners. They not only waste water, but they can also harm your bathroom and promote the spread of mould and mildew. It’s critical to fix a leaking shower as quickly as possible to avoid more damage and save money on water costs. In this comprehensive guide, we will teach you step-by-step how to fix a leaking shower and ensure a watertight seal.
Identifying the Source of the Leak
Inspect the Shower Area
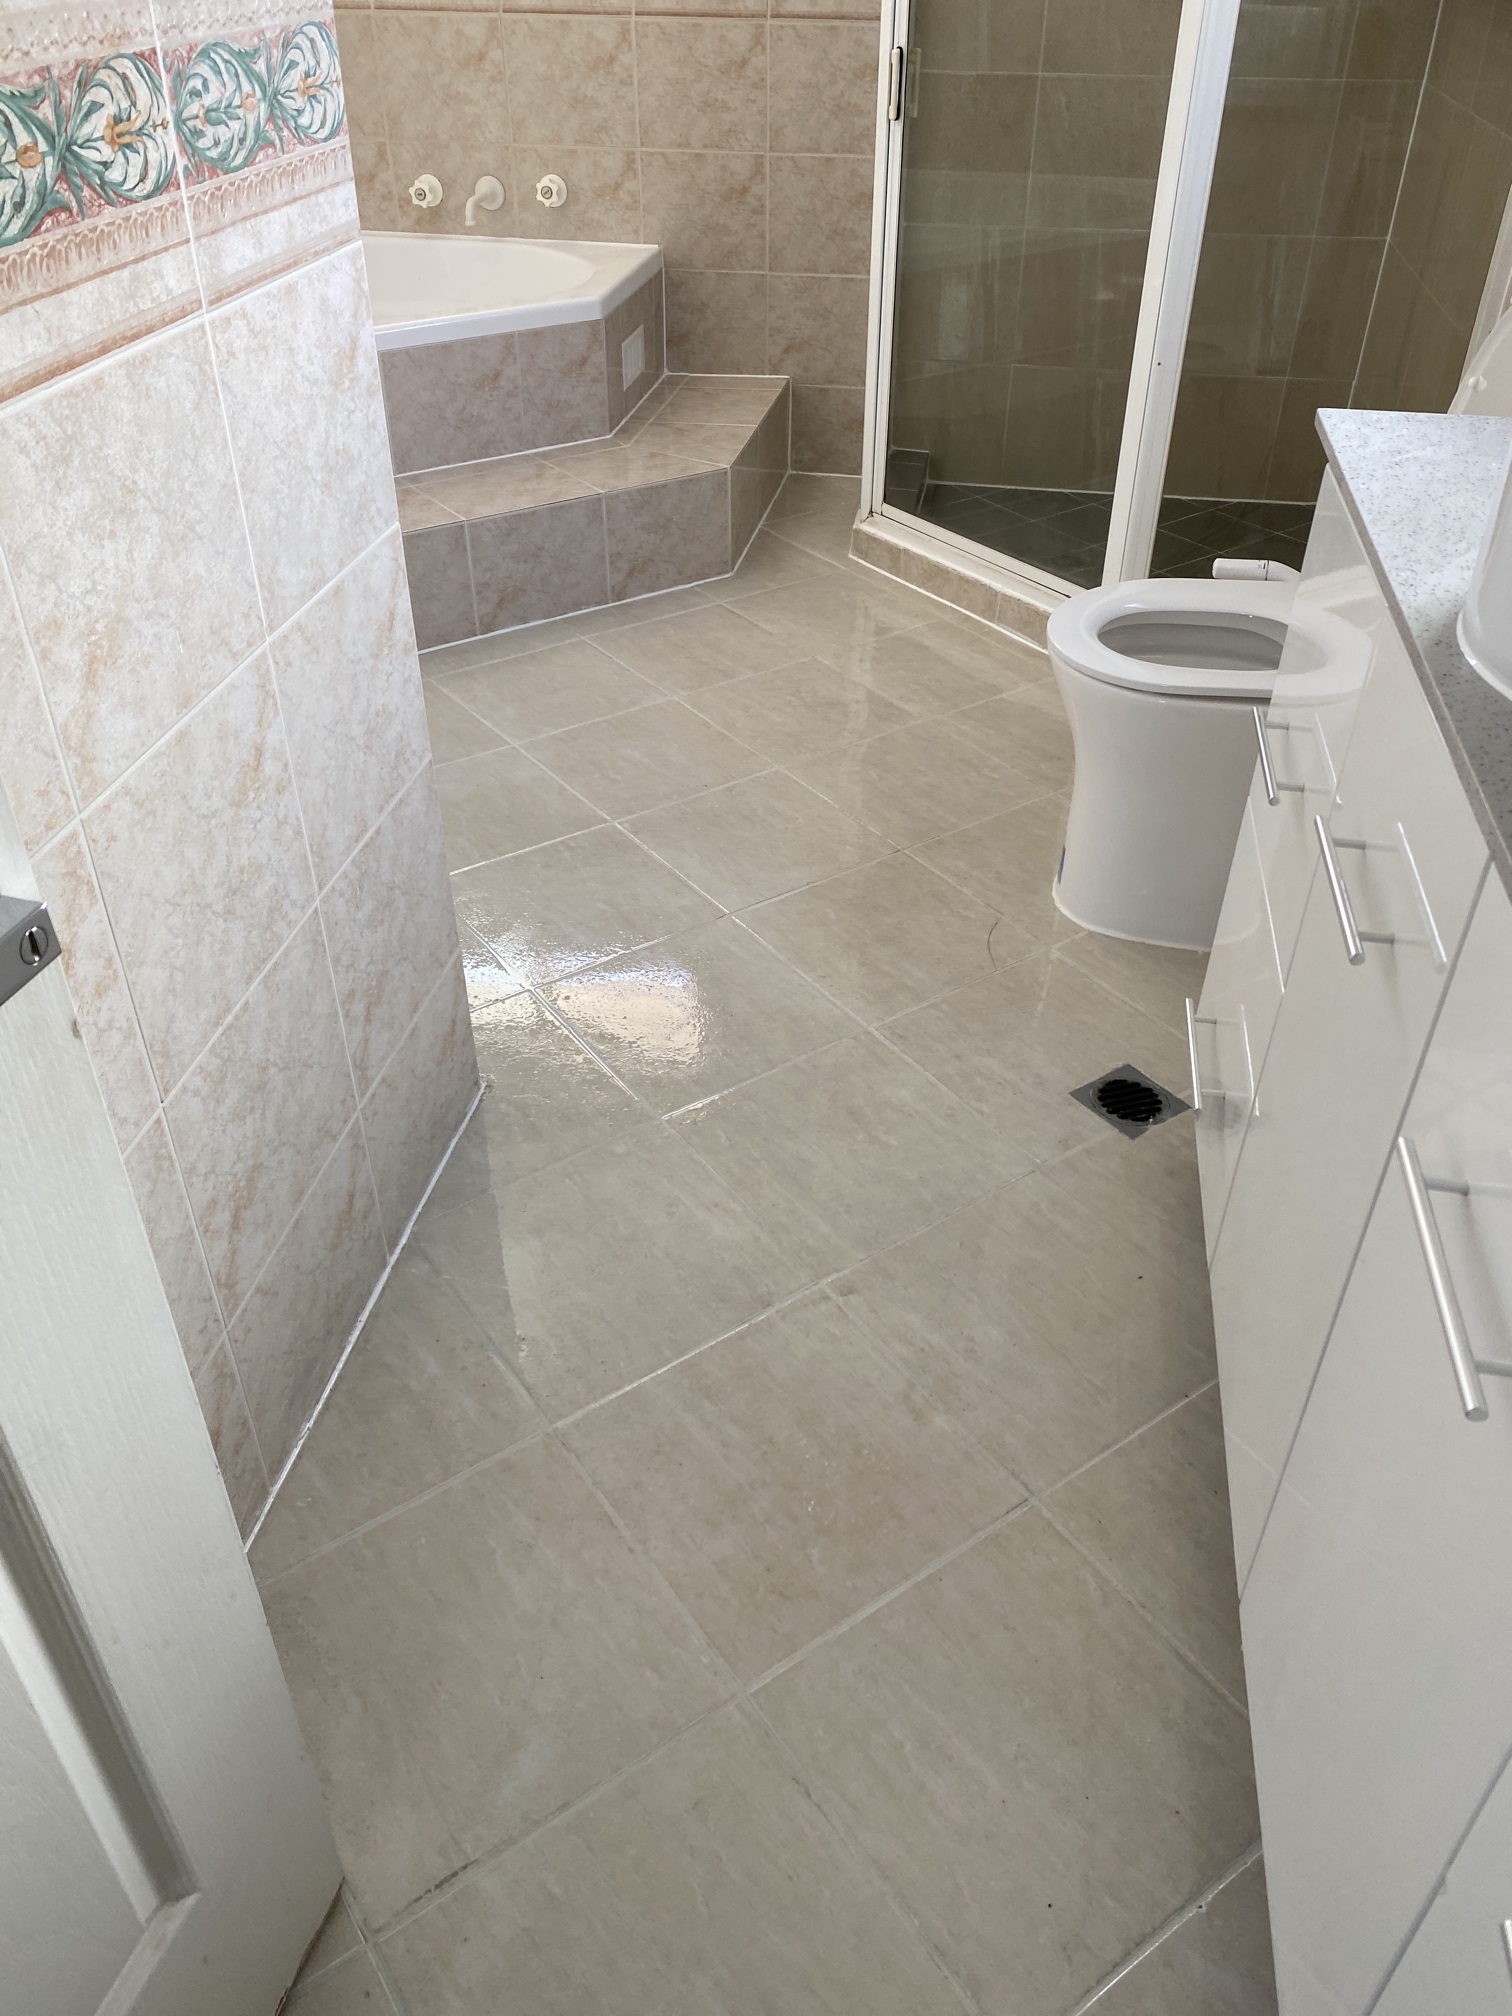
The first step in repairing a leaking shower is determining where the leak is coming from. Begin by thoroughly checking the shower area. Examine the area for visible evidence of water damage, such as damp patches on the walls or floor, peeling paint, or mould growth. Check for leaks in the showerhead, faucet handles, and the region where the tiles meet the shower pan.
Examine the Showerhead and Faucets
A malfunctioning showerhead or faucet is a common cause of a leaking shower. Examine the showerhead and faucet handles for any evident evidence of leakage. Tighten any loose connections and look for evidence of wear and strain on the rubber washers or O-rings. Replace them with fresh ones if necessary to guarantee a proper seal.
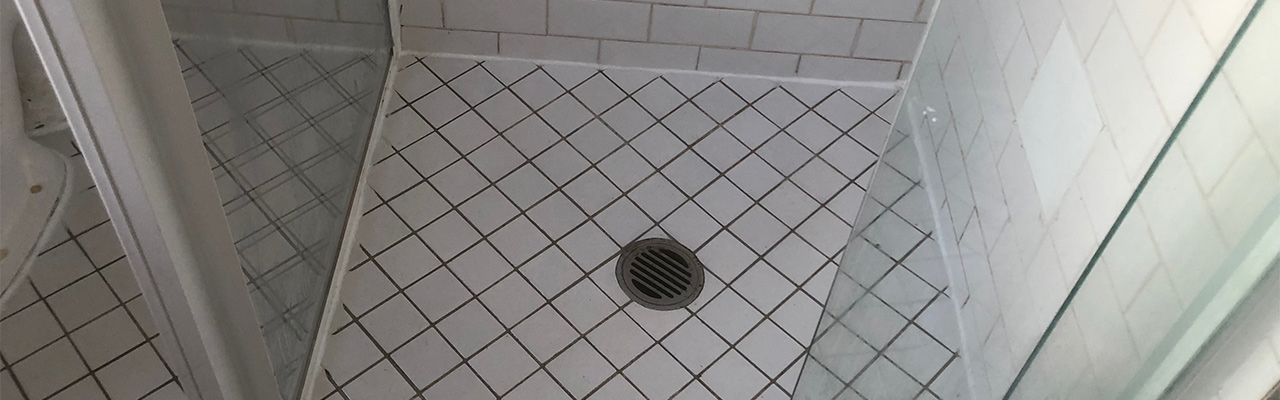
Check the Caulking and Grout
Damaged or deteriorating caulking or grout is another typical source of shower leaks. Check for any gaps or cracks in the caulking where the tiles meet the shower pan and walls. If there is any damage, use a caulk remover tool to remove the old caulking and apply a fresh bead of silicone caulk. In the same way, inspect the grout lines between the tiles for cracks or gaps and repair them using grout sealer.

Repairing the Leaking Shower
Replace Faulty Shower Valves
If malfunctioning shower valves are found to be the source of the leak, they may need to be replaced. Turn off the shower’s water supply and remove the old valves with a wrench. Bring them to a hardware store to obtain appropriate replacements. Install the new valves as directed by the manufacturer, ensuring a tight and secure fit.
Repairing Damaged Pipes
A leaking shower can be caused by damaged or corroded pipes in some circumstances. If you feel this is the problem, you should contact a professional plumber. They will be able to identify the damaged pipes and repair or replace them as needed.
Hiring a Professional
If you’re unsure about handling the repair yourself, or if the leak persists after you’ve tried the above measures, it’s best to consult a professional plumber. They have the skills and specialised gear to successfully identify and repair complex shower leaks.
Preventing Future Leaks
Maintain Regular Inspections
It is critical to inspect your shower on a regular basis to prevent future leaks. Examine the area for evidence of water damage, mould, or mildew growth. Address any problems as soon as possible to avoid further damage and costly repairs.
Use High-Quality Materials
It is critical to utilise high-quality materials when repairing or replacing shower components. Invest in long-lasting showerheads, faucets, and valves that can survive heavy use and resist leaks. Additionally, choose high-quality caulking and grout that will offer a long-lasting barrier and prevent water from seeping through the crevices.
Maintain Proper Shower Usage
Showering properly might also help to prevent leaks. When turning the shower handles or regulating the temperature, avoid using too much force. Rough handling can cause valve wear and tear over time, resulting in leaks. Teach family members to use the shower gently to avoid putting extra strain on the components.
Address Water Pressure Issues
High water pressure might strain your shower system, causing leaks. If you have persistently high water pressure in your home, think about installing a pressure regulator to control the flow of water. This will keep extra pressure from damaging your shower fittings and pipes.
Regular Maintenance
Regular maintenance procedures can help keep your shower in good working order and prevent leaks. Regularly clean the showerhead to remove mineral deposits that can restrict the flow of water and cause leaks. Inspect the caulking and grout on a regular basis to verify they are still intact and free of cracks or gaps. Check for any loose or shaky handles and tighten them as necessary.
Conclusion
Enjoy a Leak-Free Shower
You may successfully stop a leaky shower and enjoy a leak-free bathing experience by following the methods indicated in this comprehensive tutorial. Remember to locate the source of the leak, whether it’s a defective showerhead, damaged caulking, or something else. If necessary, take the appropriate repair measures or seek professional assistance. You can avoid future leaks and extend the life of your shower system by performing regular maintenance and utilising high-quality materials. With these steps, you can say goodbye to the aggravation of a leaking shower and keep your bathroom looking and functioning well for years to come.